06 A Realistic Widget
本章我们创建一个名为peity的R包,它以peity.js为基础,创建内联图(类似小图标的东西)。
usethis::create_package("peity")
htmlwidgets::scaffoldWidget("peity")<!DOCTYPE html>
<html xmlns="http://www.w3.org/1999/xhtml" lang="" xml:lang="">
<head>
<!-- Import libraries -->
<script src="https://code.jquery.com/jquery-3.5.1.min.js"></script>
<script src="https://cdn.jsdelivr.net/npm/peity@3.3.0/jquery.peity.min.js"></script>
</head>
<body>
<!-- div to hold visualisation -->
<span id="bar">5,3,9,6,5,9,7,3,5,2</span>
<!-- Script to create visualisation -->
<script>
$("#bar").peity("bar");
</script>
</body>
</html>具体工作原理是:先加载JavaScript库,然后$("#bar").peity("bar")将span标签中的数据转换成图表。
Dependencies
创建好包和scaffold后,我们需要为包添加JavaScript依赖库。分别为上述两个依赖库peity.js和jQuery创建单独目录,并放置源文件,这样可以使包变得更加鲁棒。
dir.create("./inst/htmlwidgets/jquery")
dir.create("./inst/htmlwidgets/peity")

peity <- paste0(
  "https://raw.githubusercontent.com/benpickles/",
  "peity/master/jquery.peity.min.js"
)
jquery <- paste0(
  "https://code.jquery.com/jquery-3.5.1.min.js"
)

download.file(
  jquery, "./inst/htmlwidgets/jquery/jquery.min.js"
)
download.file(
  peity, "./inst/htmlwidgets/peity/jquery.peity.min.js"
)
完成后,R包目录下的结构大致如下:
.
├── DESCRIPTION
├── NAMESPACE
├── R
│   └── peity.R
└── inst
    └── htmlwidgets
        ├── jquery
        │   └── jquery.min.js
        ├── peity
        │   └── jquery.peity.min.js
        ├── peity.js
└── peity.yaml配置依赖的文件为inst/htmlwidgets/peity.yaml文件,它的最开始几行是一个模板。
# (uncomment to add a dependency)
# dependencies:
#  - name:
#    version:
#    src:
#    script:
# stylesheet:正确添加依赖项:依赖性的顺序很重要,因为peity.js依赖jquery.js,所以它最后被添加。scr自动指向R包目录中的inst/文件夹。
dependencies:
  - name: jQuery
    version: 3.5.1
    src: htmlwidgets/jquery
    script: jquery.min.js
  - name: peity
    version: 3.3.0
    src: htmlwidgets/peity
script: jquery.peity.min.js加载peity包,使用peity("test")函数生成测试网页,点击Rstudio中Viewer处的 ,使用浏览器工具,你可以看到在网页
<head>处加载了jquery.min.js和jquery.peity.min.js
devtools::load_all()
system.file("htmlwidgets/peity", package = "peity")
#> "/home/me/packages/peity/inst/htmlwidgets/peity"
peity("test")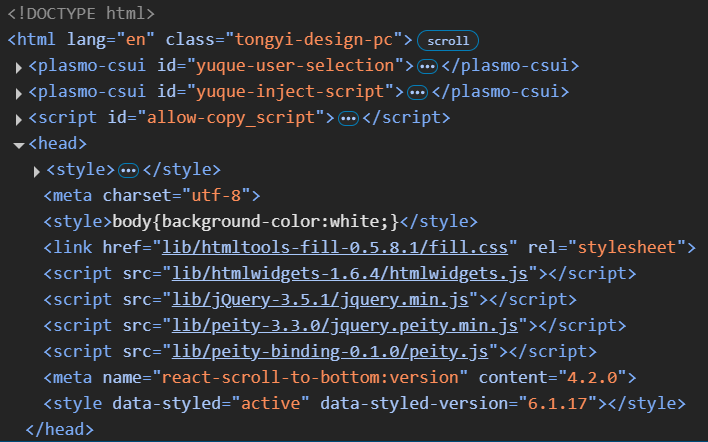
Implementation
peity.js的使用方法相对简单:piety函数应用到id = 'elementId'块,函数第一个参数使绘图类型,第二个参数是可选的JSON参数。
$("#elementId").peity("bar", {
  fill: ["red", "green", "blue"]
})piety函数使用的数据不是由参数传入,而是由块提供:
<span id="elementId">5,3,9,6</span>那么,要想实现R调用JavaScript,我们需要R:
- 创建一个有数据的块,传递块给
peity函数。 - 传递
peity函数的参数。
上一章节中,我们讲到playground包会自动创建一个块,并传递message给块,最终显示在网页上;peity包同样:
peity(c(1,5,6,2))<div
id="htmlwidget-495cf47d1a2a4a56c851"
style="width:960px;height:500px;"
class="play html-widget">
1,5,6,2
</div>与message相同的传递方式,我们可以将数据和参数通过x对象进行传递。更新./R/peity.R文件中的函数,如下所示:
peity <- function(data, type = c("bar", "line", "pie", "donut"),
  ..., width = NULL, height = NULL, elementId = NULL) {

  type <- match.arg(type)

  # forward options using x
  x = list(
    data = data,
    type = type,
    options = list(...)
  )

  # create widget
  htmlwidgets::createWidget(
    name = 'peity',
    x,
    width = width,
    height = height,
    package = 'peity',
    elementId = elementId
  )
}与message相同的处理方式,在./inst/htmlwidgets/peity.js文件中,添加对传入的x对象处理,运行js中的peity函数。
renderValue: function(x) {

  // insert data
  el.innerText = x.data;

  // run peity
  // $("#" + el.id).peity(x.type, x.options)
  $(el).peity(x.type, x.options)
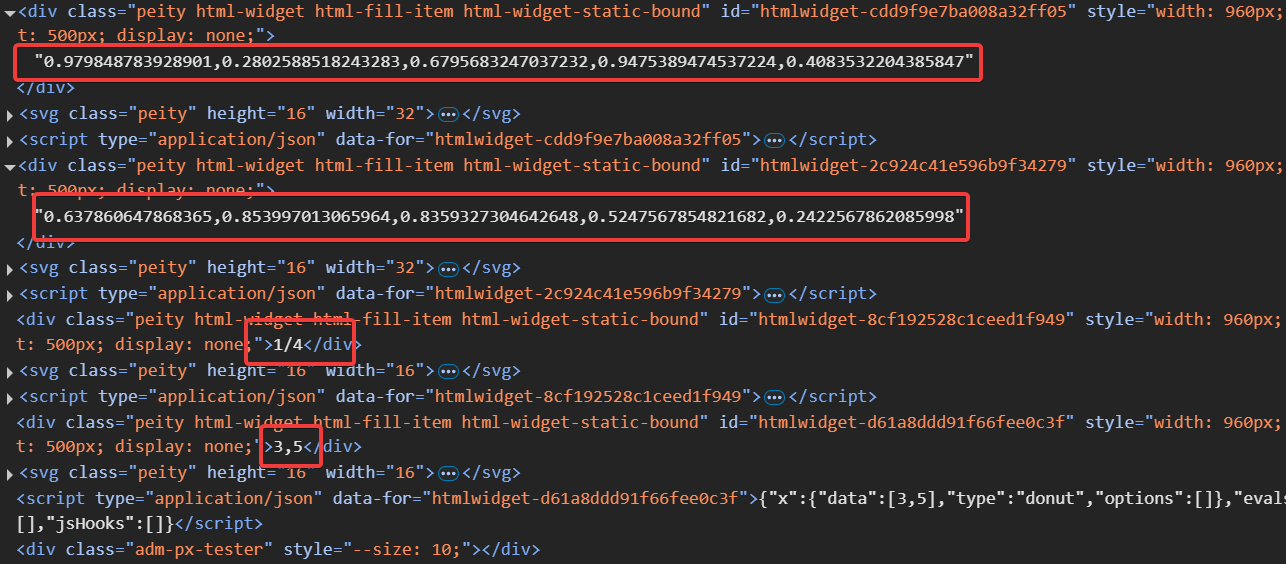
}library(htmltools)
browsable(
tagList(
peity(runif(5)),
peity(runif(5), type = "line"),
peity("1/4", type = "pie", fill = c("#c6d9fd", "#4d89f9")),
peity(c(3,5), type = "donut")
)
)HTML Element
piety.js生成的图像用来插入到某行中,通常搭配<span>标签。如果你检查上例中html源码,会发现生成的图是被<div>标签包裹。
为了实现被<span>标签包裹,我们需要在./R/piety.R中定义一个函数,将<div>标签替换为<span>标签,示例如下:
peity_html <- function(...){
  htmltools::tags$span(...)
}
你可以重新加载函数,再次检查html源码中使用的标签。
函数名peity_html是一种固定的格式——widgetName_html。该函数会被htmlwidgets自动搜索,如果有就使用函数中的标签,如果没有就使用默认的<div>。参数...为固定参数,用来传递id,class,style等不确定参数。你也可以写出如下具有固定参数的格式。
myWidget_html <- function(..., class){
  htmltools::tags$div(..., class = c(class, "my-class"))
}We can now 5,3,9,6,7 use peity 2, 1.8198638, 0.9582295, 0.2660590, 1.1532798 inline with text! 4,2
browsable(
  tagList(
    p(
      "We can now", peity(runif(5)),
      "use peity", peity(runif(5), type = "line"),
      "inline with text!",
      peity(c(4,2), type = "donut")
    )
  )
)